
(updated 08/05/10)
|
(updated 08/05/10) |
Here are some pictures of the reel I am still using. The tape measures just over 2mm wide x 0.3mm thick. It has an impregnation of some sort of wax and is almost unbreakable. when I started making I tried a lot of different threads for tying in stocks but once I tried this material I have never found better!
 The reel end. |
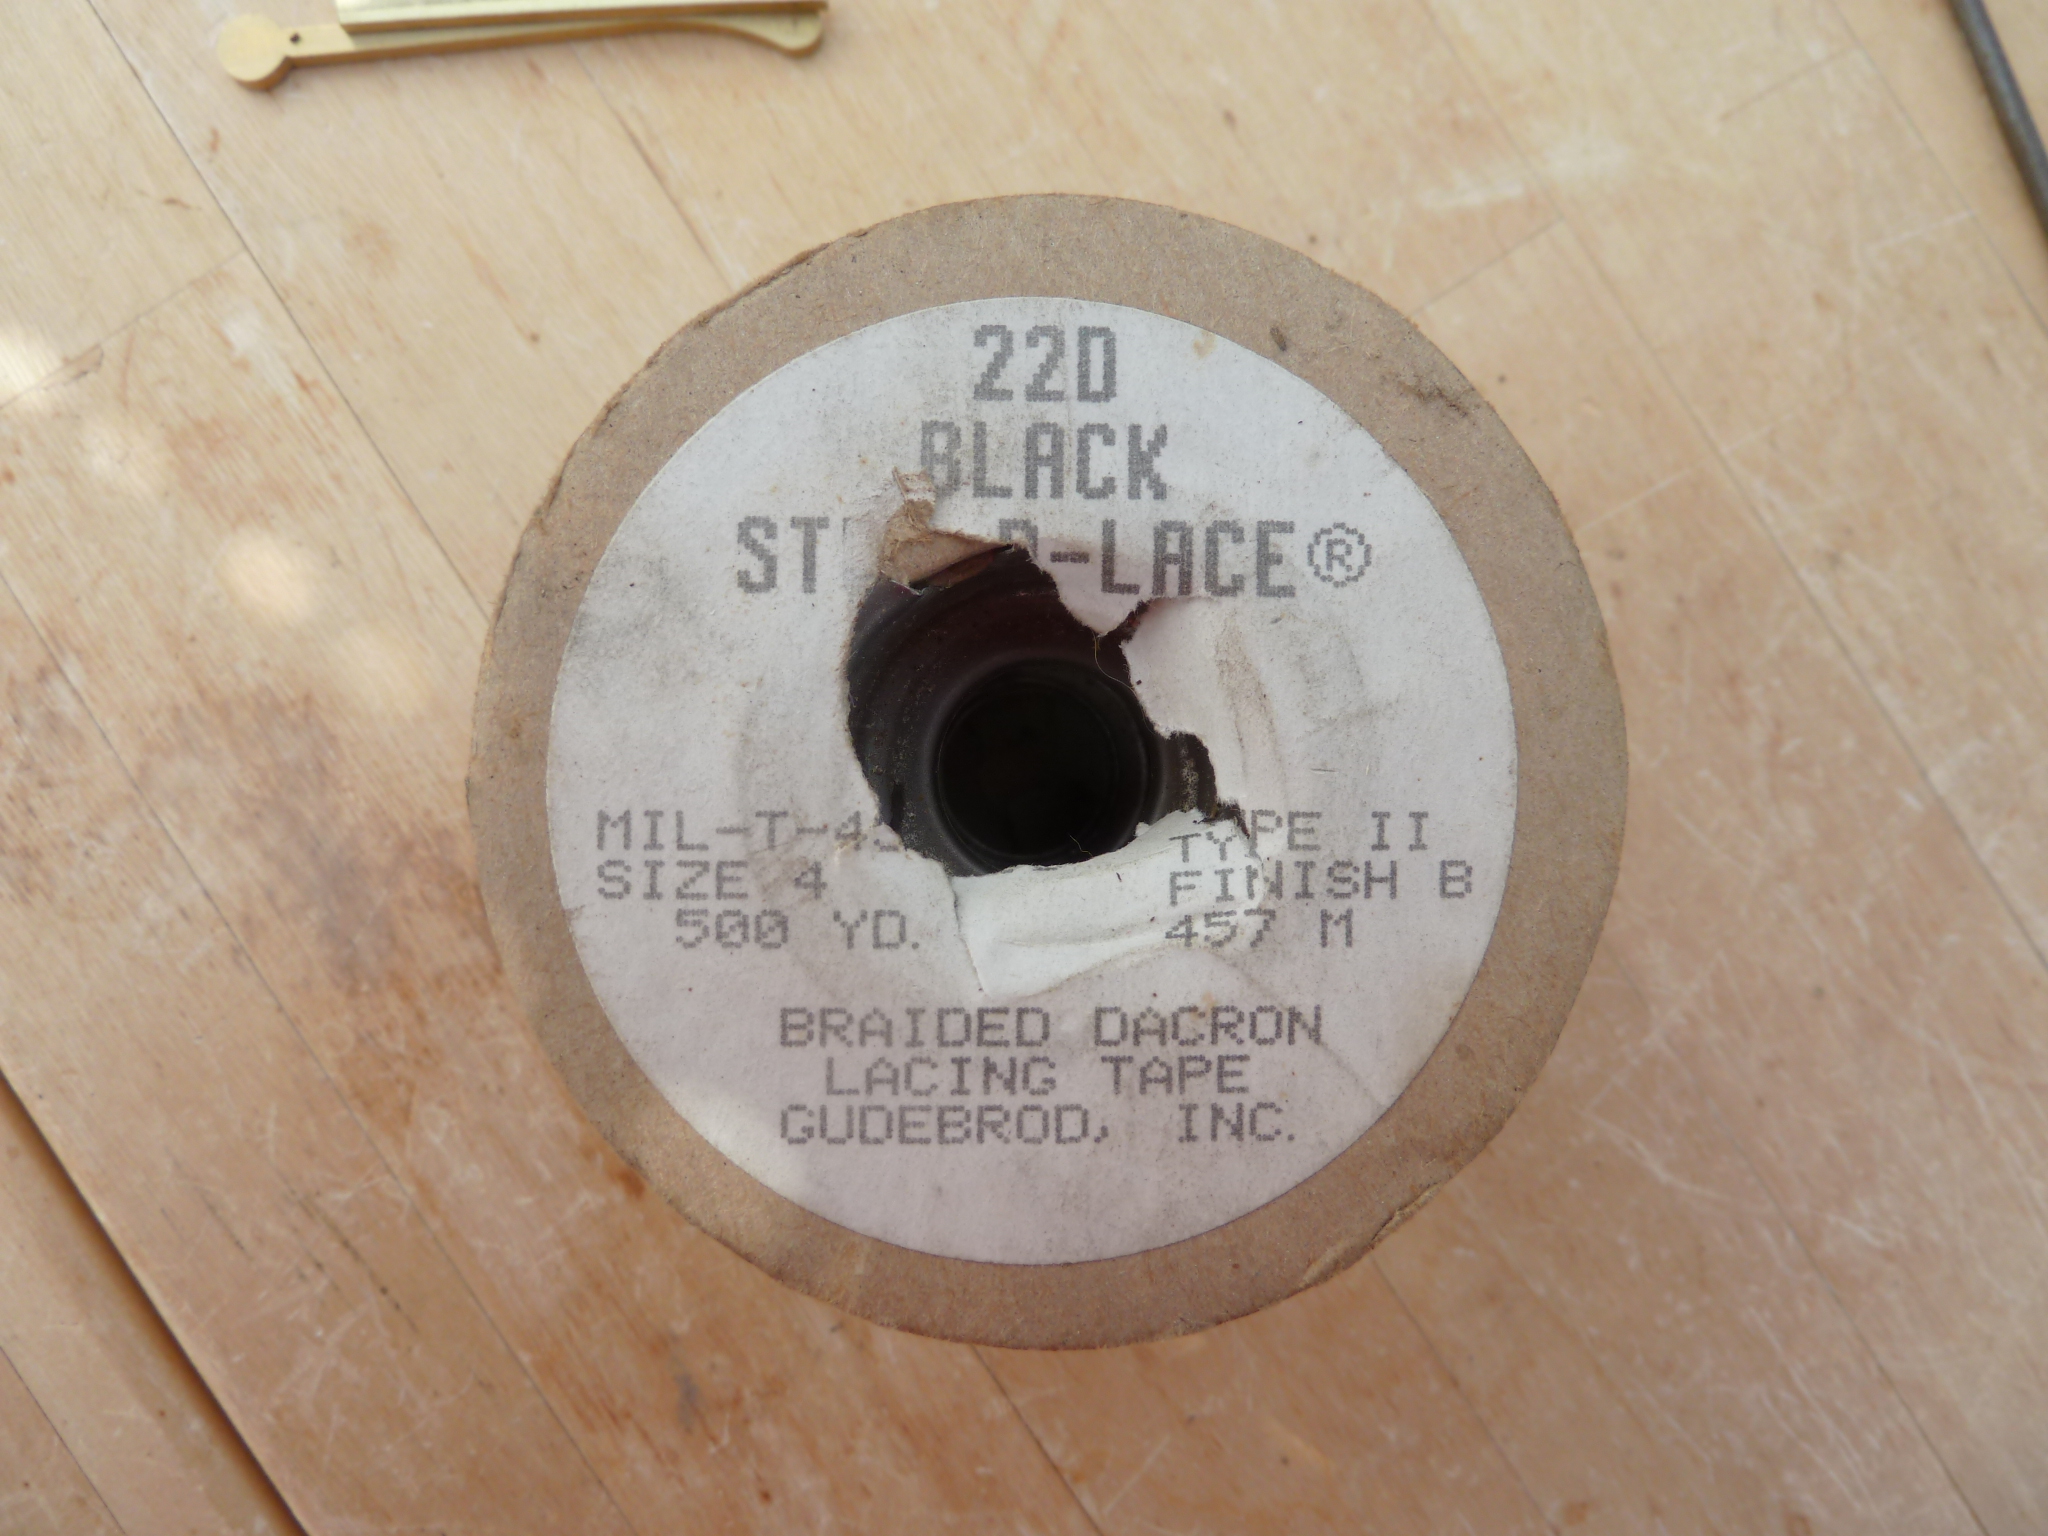 The reel end |
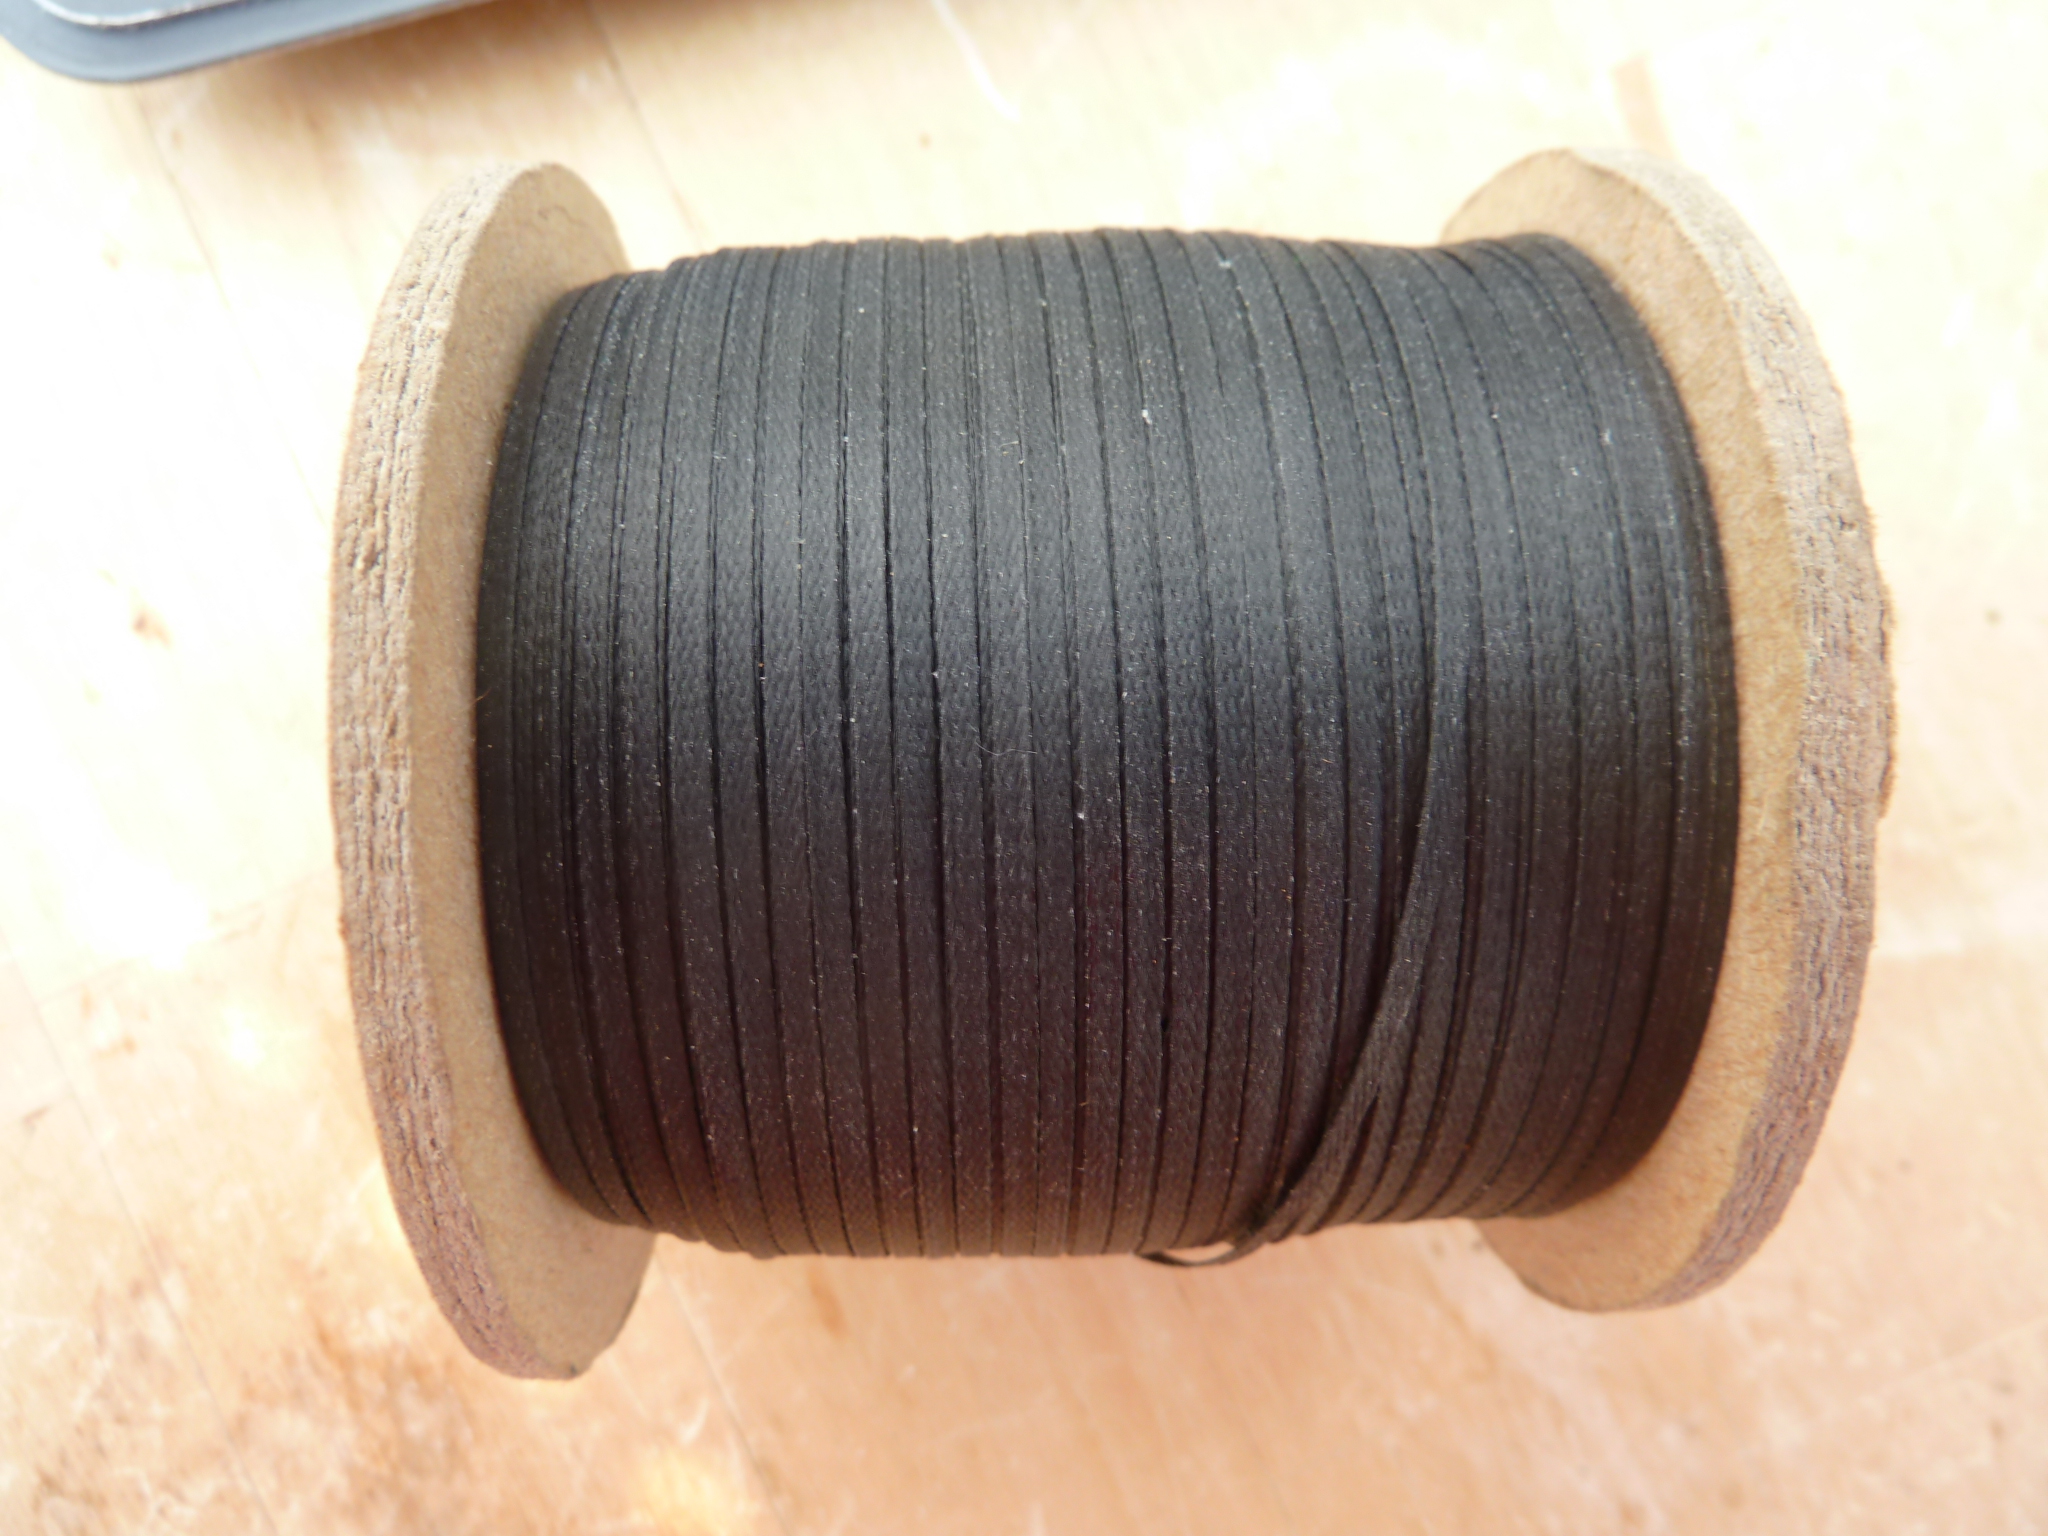 The reel |
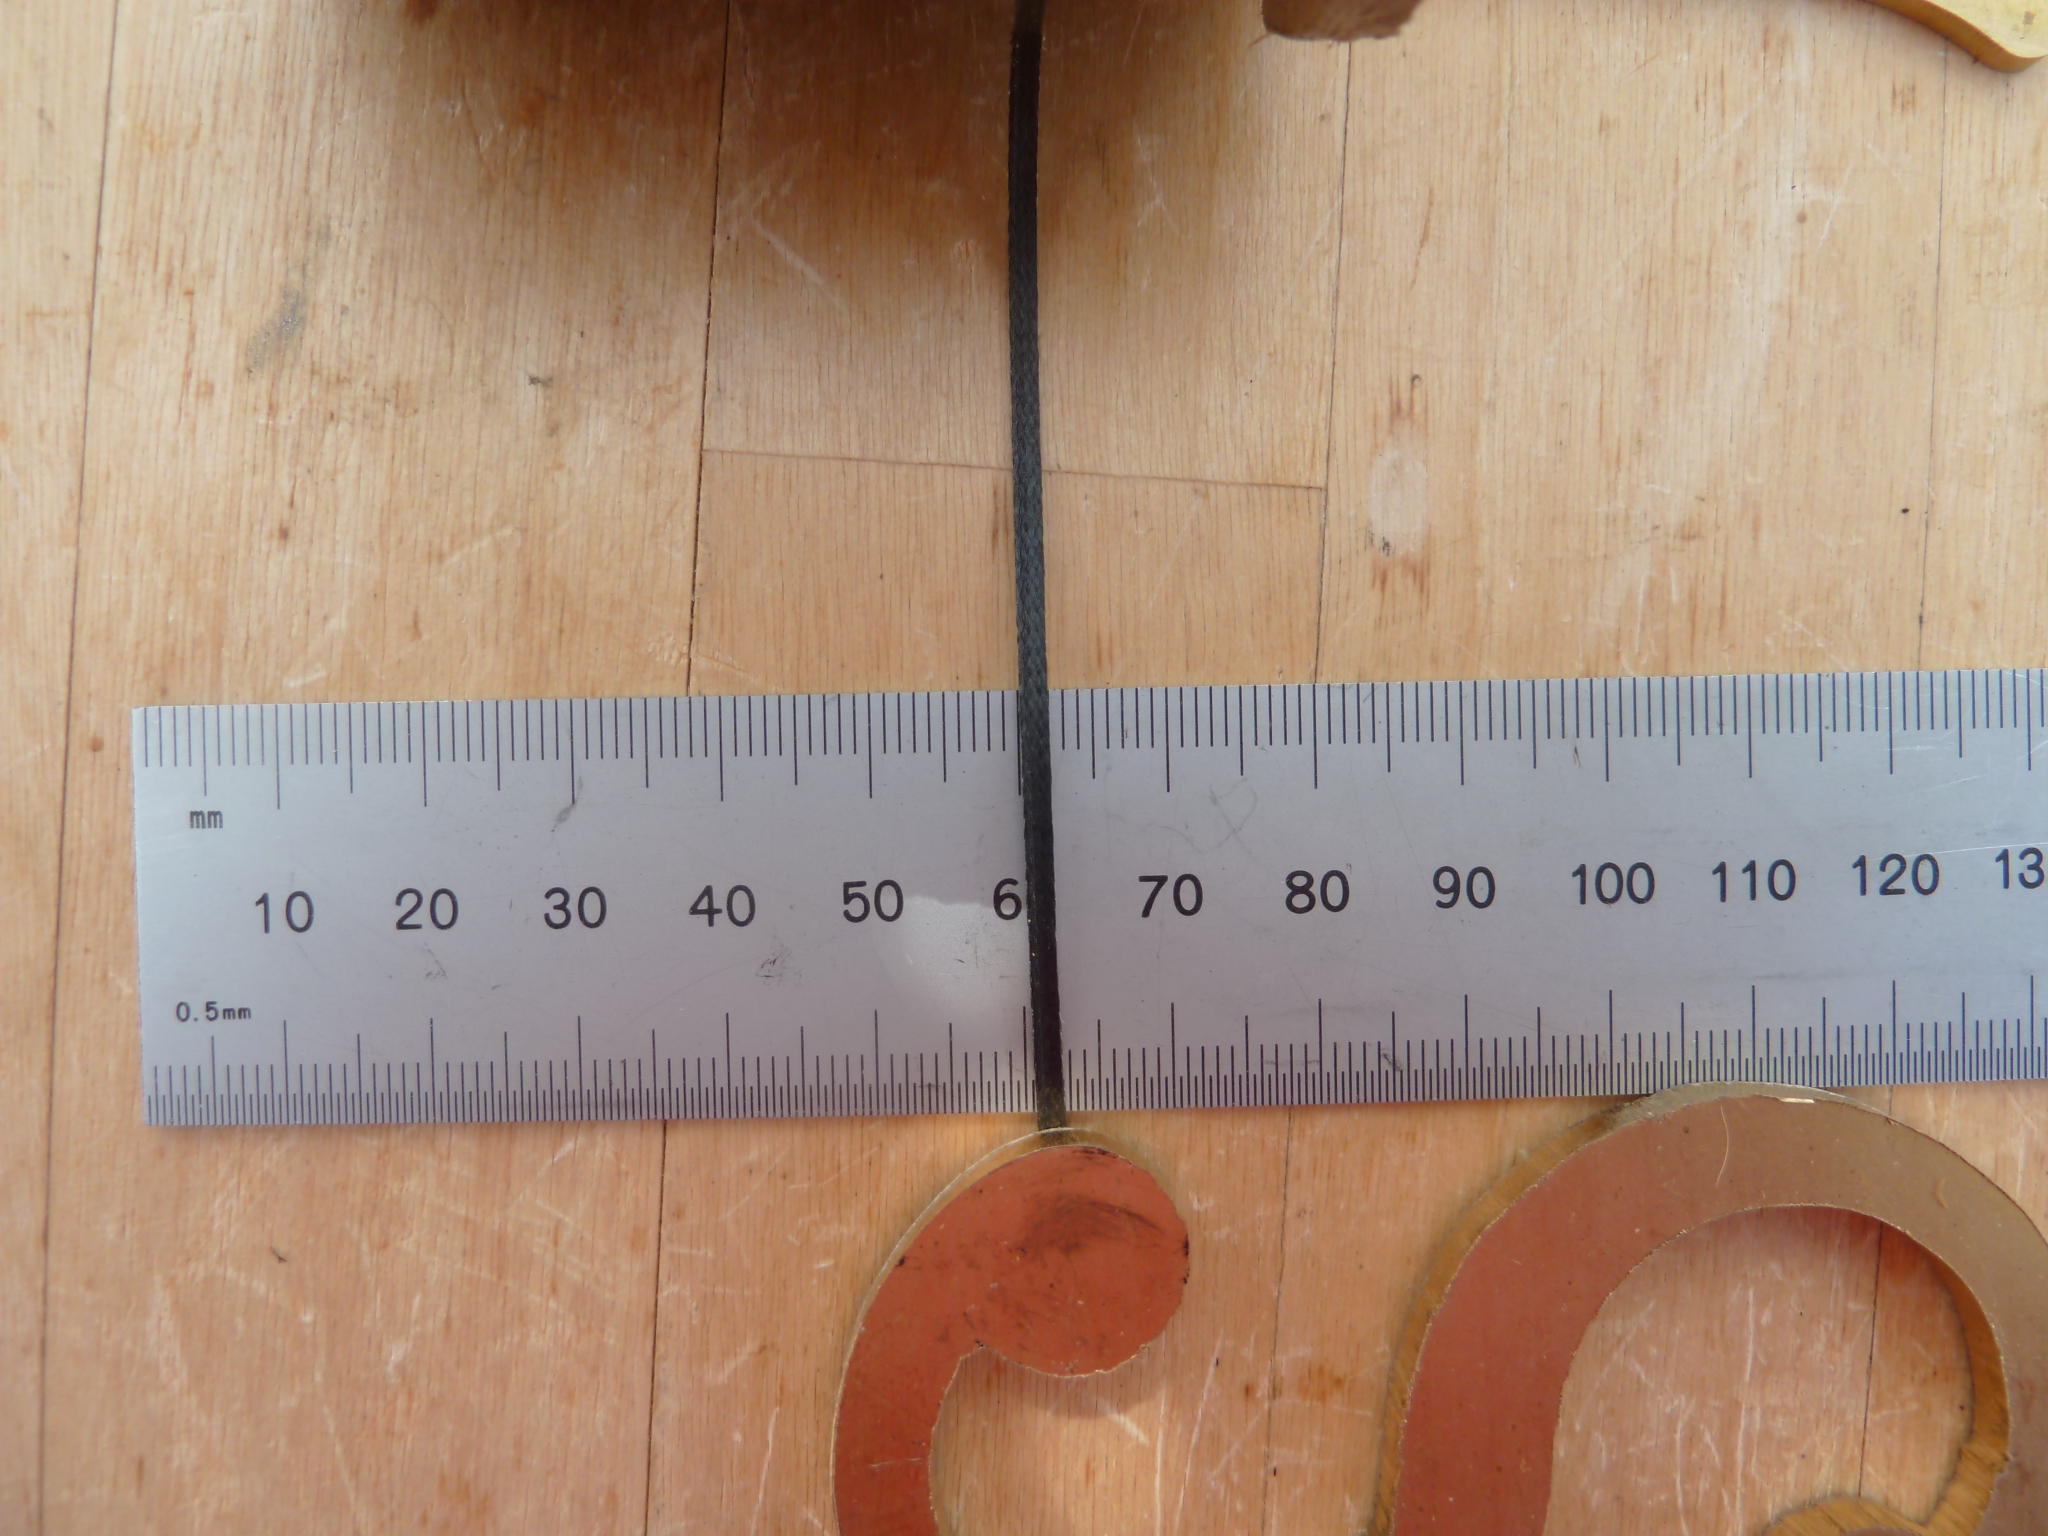 The tape |
© 1996 mike@mike-nelson.co.uk
© Mike Nelson. All rights reserved.
This manual has been put together by Mike Nelson for his own amusement :)
Go back to Mike Nelsons Home Page