Mandolin Construction Methods
Producing even arching

The most important thing to do is to look at a lot of good instruments and get a feeling for the arching into your head.
I do the rough shaping with a spoon gouge until I feel that I am getting close to the style of arching I want.
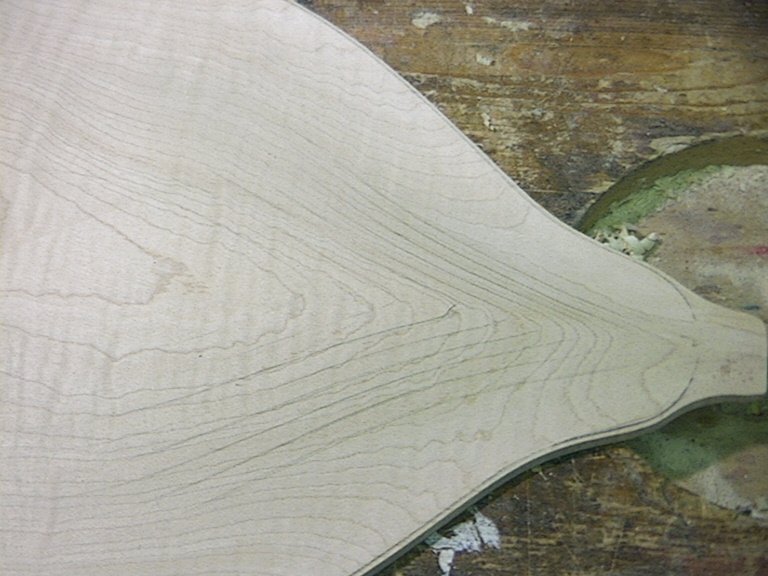
Once the wood has been roughly shaped and final shaping has started using the small violin makers planes, I draw a series of contours around the plate.
NOTE the inside of the plate is flat at this stage. hollowing does not start until the outside shape is completely finished.
As I get closer to the final shape I draw more contours. The lines shown in the pictures are the result of closing the gap by rotating the bow screw 2 full turns between each contour.
The only place that the contour method stops working is in the trough (throat) around the outside. For this area I do use a small template in Mandolins. On a violin this area is much less pronounced and is done entirely by eye
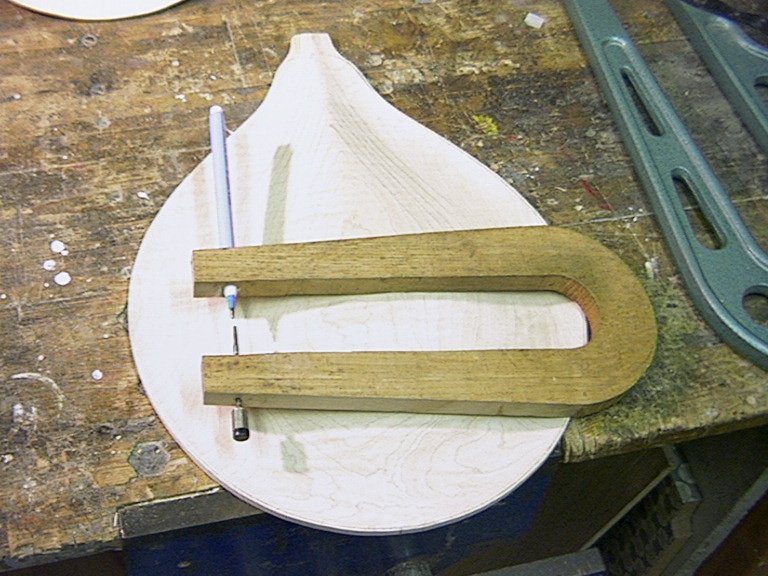
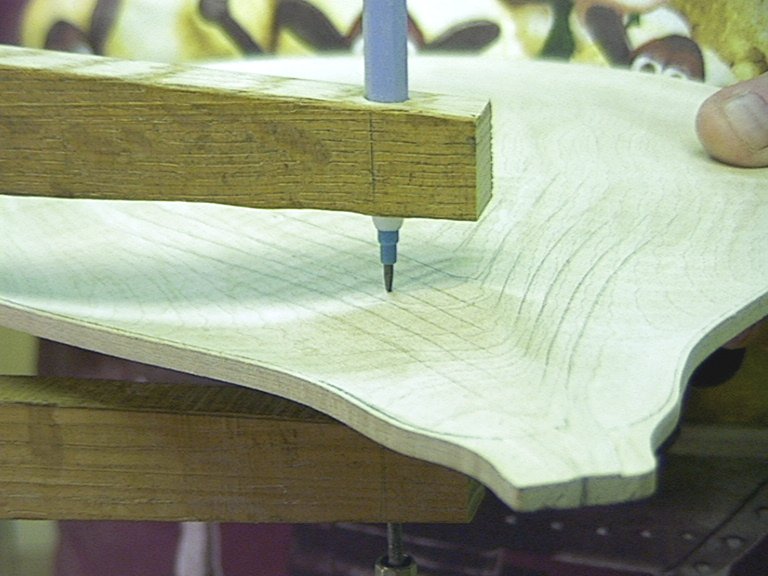
The contours are drawn using a simple tool. The one I use was made from a spare piece of oak, a "pop point" pencil and an old violin bow screw.
Make sure that the wood used as stiff as the accuracy will be compromised if the tool is floppy. The type of pencil is not important, I used a normal wooden HB pencil for all of the violins I made. The pencil must be a firm fit in its hole and the bow screw and the lead of the pencil must be quite concentric with the point of the bow screw.


Set the contour tool to an appropriate thickness and draw it gently around the shape so that a pencil line is drawn defining the contour of that thickness.
The shaping and contour drawing process is continued until the shape is even and looks like the arching you have in your memory from looking at good instruments