Mandolin Construction Methods
bending the sides
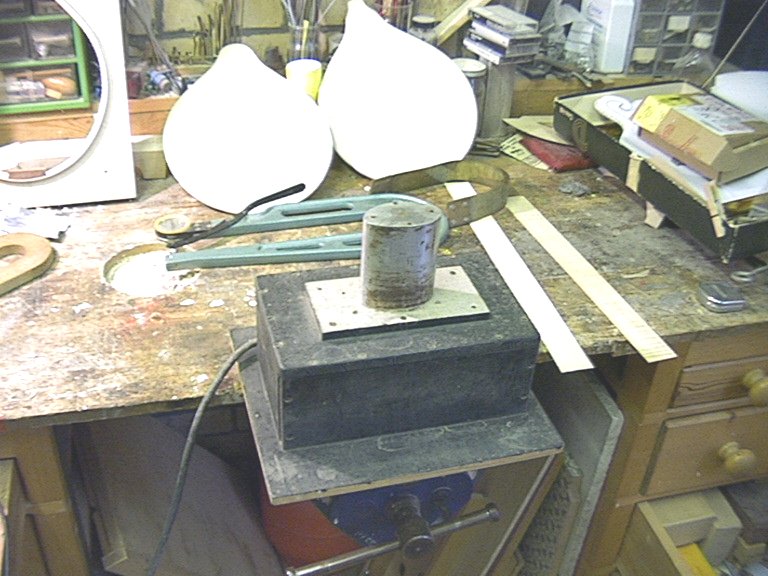
The working part of the tool was carved from a 3"wide X 2"thick X 4" high block of aluminimum in 1972 using only hand tools .
The heating element is an insulated wire element passing through vertical holes in the block.
The top face has a 1/8" plate screwed on to cover the holes.
The body is screwed to a 3/8" thick insulating plate (the one I used is made from sindanyo board which is a mixture of concrete and fibres).
The temperature is controlled using a cartridge type oven temperature control and I have a small neon light wired up so that it is on when the unit is up to the set temperature.
The electrics are contained in the main body made from 1/2" ply and screwed and glued (except for the bottom plate which is just screwed. It is important that the unit is strong as the loads used to pull the sides round the curve can be quite high.
If I was making it again I would use 3/8" diameter cartridge heating elements to provide the heating as they are much safer.
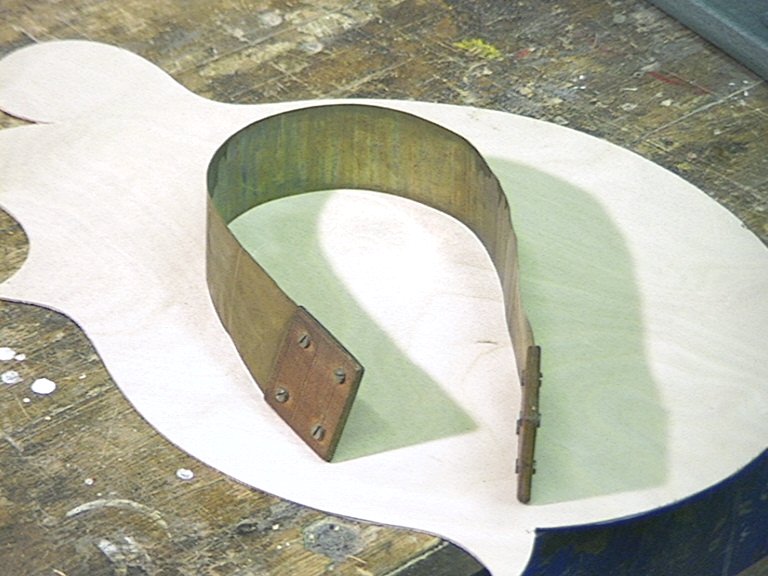
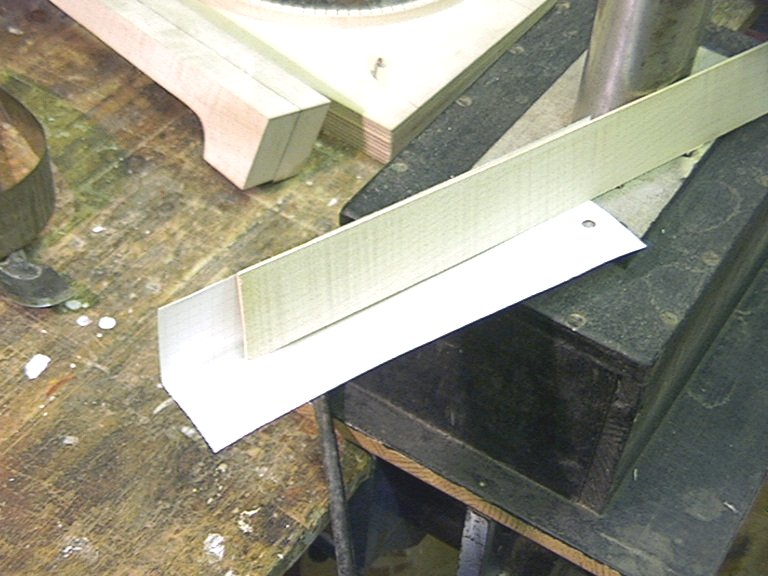
The backing strip I use to support the wood during bending is made from 5 thou thick (0.005") shim brass. I have it just a little wider than the wood for the sides and I have fitted wooden handles on each end to make it easier to hold.
The one shown here was originaly made to bend Violin and Viola sides and has seen a lot of action.
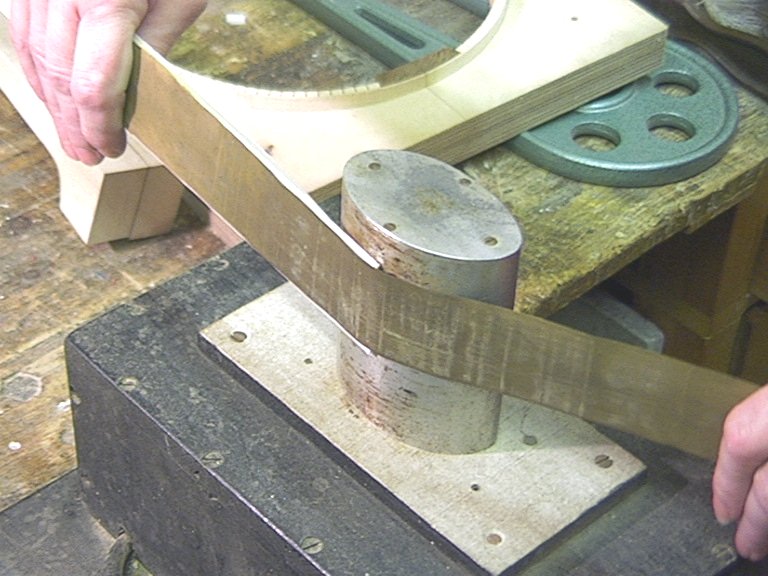
The wood is wrapped with a piece of clean, lightly wetted, paper and this provides all the water used during the bending. If the wood becomes too dry I just open the paper and wipe some more water onto is. It is important that the wood is not too wet as this can cause buckling especially in highly flamed maple.
The bending iron must not be so hot that the paper is scorched as this causes just as many problems as having the iron too cool.
You should be able to spit at the top of the iron and it should bounce straight off!!. The grey area on the top of the iron is the result of this temperature testing process.
This is how the wood is introduced to the iron. the wood of the side and the brass backing strip are held together in the right hand. The left hand holds just the brass strip. The wood is introduced to the hot iron and pulled across the hot surface by the left hand (from left to right in the picture shown). Take care to move the wood slowely allowing it ot soak up the heat and become pliable before it starts to bend.