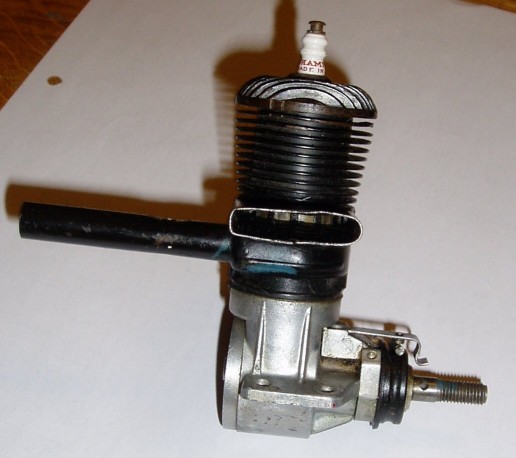
The Engine as Received
I purchased this engine in 2005 during an period of enthusiasm for vintage controline stunt. I bought it on a whim and, when I received it, I realised that it would require a lot of work to get it in a usable state so it was consigned to the "pending" pile. I was also concerned that the Bunch logo on the side of the cylinder was upside down and I took this as a sign that the engine had been cobbled together from bits. I have only recently discovered that this engine is actually a rare version of the Bunch Aero Tiger being the inverted version.
I rediscovered the engine recently in the back of my engine draw(early 2012) and decided to see if I could get it running and this is a record of the tasks undertaken.
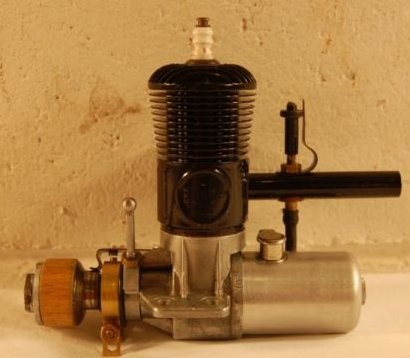
The heading picture on the left is the engine as received and the one on the right is complete version found on the web.
Some Historical information
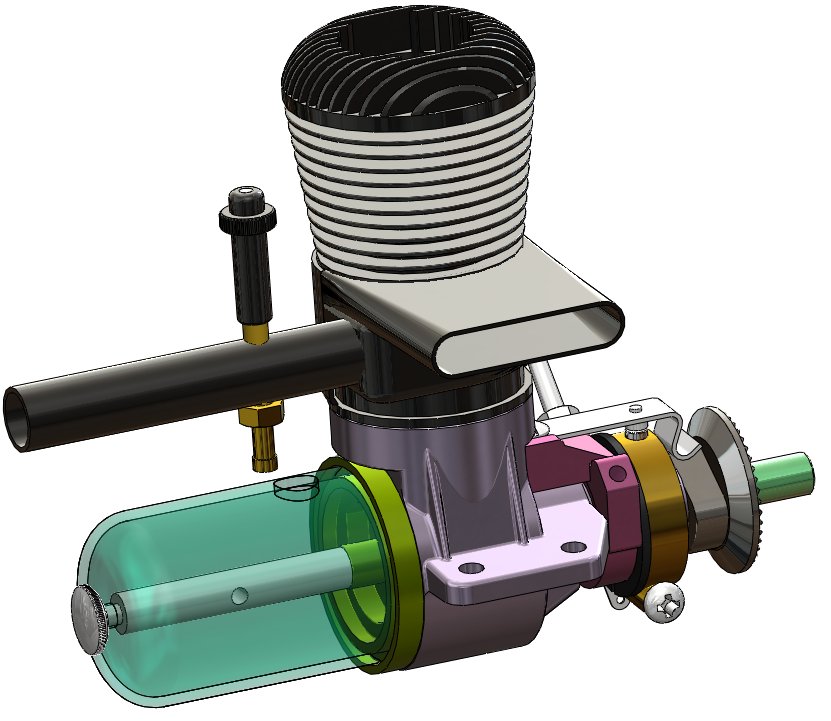
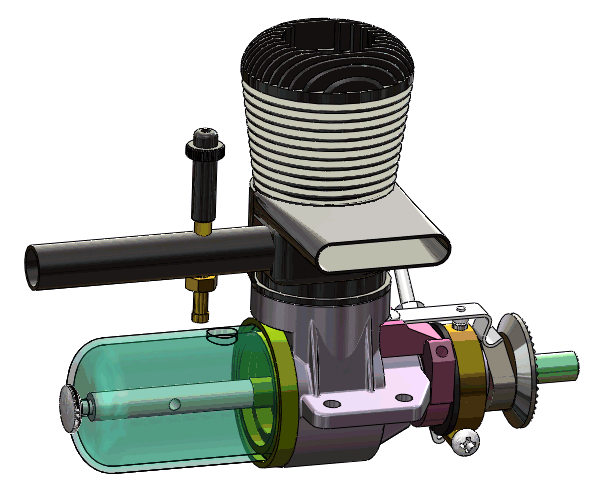
I have done a small amount of research about these engines and here is a summary of what I have discovered. Once I have got this engine sorted out I should be in a position to show a full 3D model of all the parts.
- From model engine collecting
The very first of the famous Bunch line of engines were built in the mid 1930's by Dan Bunch's father-in-law, Joseph Gwin, in Indianapolis, Indiana. Built mainly as a part time activity to see if he could build an engine for the growing fad of flying model airplanes. After a time, Joseph Gwin turned the project over to Danner Bunch, who had a model shop in Los Angeles.
- The version I am restoring is one the last of the engines produced under the Bunch name and dates from around 1945.
These engines were 0.45 cu. in. displacement and a real powerhouse for their time. One of the first engines to use a "tuned intake". The extra long venturi tube was a source of irritation to many modelers, but to their horror, when they cut it down they ended up losing as much as 1000 RPM! It was long for a reason.
 |
The engine appeared to be in reasonable condition but a lot of the front end parts were missing. The fixed point mounting strap, the propdriver, the timing lever, the prop washer and the prop nut were all missing and would need to be either made or purchased.
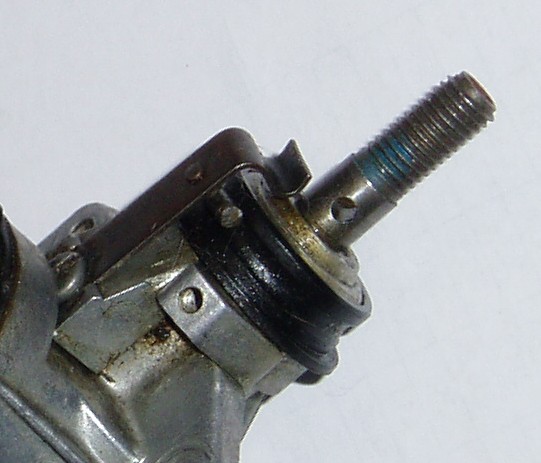
One piece of luck was that the plastic insulating band was present as it has the dual function of insulating the fixed point and, because is has an eccentric bore, it is used to set the points gap. |
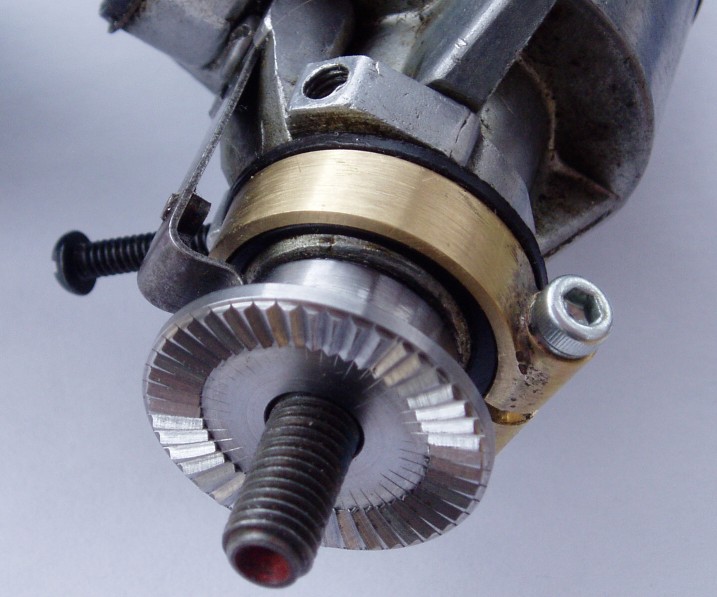 |
The fixed point clamp strap is now finished and fitted. It needs only the actual fixed point to be added to make it fully functional. The prop driver is also mainly finished and only needs the cam flat machining as soon as I have worked out the correct orientation for it.
I have now received a fixed point for this assembly from a kind man in Australia (isn't the web wonderful!) |
 |
The tank I have made for this engine is really the model used on the normal rather than the inverted version. I sourced the filler from Adams rather than the Git cap that was used on the original. The Adams caps are made in the UK and the company is good to deal with. |
I have gathered the drawings that I created to help me get the replacement parts made accurately:-
This article was created by Mike Nelson.
Go back to Mike Nelsons engine top page
Go back to Mike Nelsons Home Page
This site is created and maintained by Mike Nelson for his own pleasure
© 1997/8/9 2000/01/02/03/04/05/06/07/08/09/10/11/12 Mike Nelson
|